


Hi There! I’m April – Box King’s Graphic Designer!
Last month we asked what kind of things you wanted to read about in our upcoming blog…
Some of you voted for our “Mother’s Day DIY Project”, well here it is…
Better late than never… right?
Step 1
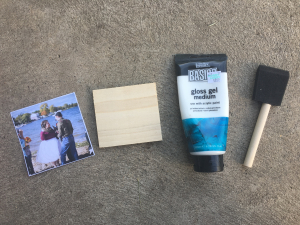
Gather your supplies you will need for this project.
Laser Copy Photo, Unfinished Piece of Wood, Gel Medium, Paint Brush
It is very important to use a laser copied photo, your home inkjet won’t do for this!
Stop in at Box King and have us help you print your photo to the desired size.
I purchased a tube of this “Gloss Gel Medium” from Hobby Lobby for $8.99.
It’s a great size and so far I’ve done 3 small 4″x4″ images and one large 2’x2′ with it.
My favorite part about this project is that it’s not meant to be perfect so it’s great for first timers!
Step 2
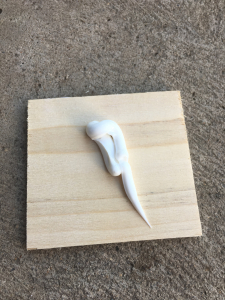
Squeeze out the gel medium onto the piece of unfinished wood.
The amount of medium you need will depend on the size of wood you have.
Not too much and not too little.
Step 3
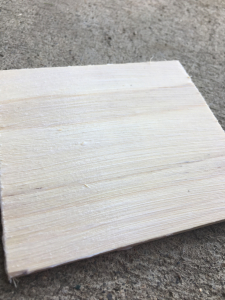
Use your paint brush to evenly distribute the gel medium.
The idea is that you evenly coat the entire piece of wood with a light to medium layer.
Step 4
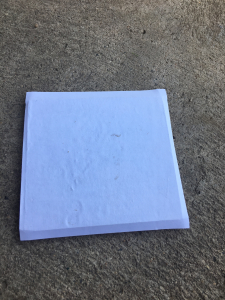
Place your photo face down onto the wood.
Be sure not to let the medium dry before placing the photo.
Smooth out the photo using your fingers.
I go over the image about 5-10 times.
Then let dry for 1-2 hours.
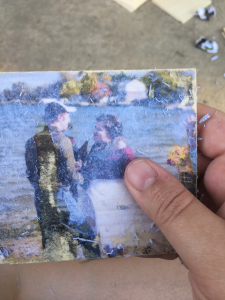
Step 5
Use a washcloth, paper towel or clean paintbrush to dampen the entire piece of paper.
Use enough water so that the “whiteness” of the paper becomes transparent.
Carefully begin to remove the paper, I find that using my thumb to rub the paper works best.
You can also use one of those dish washing scrubbies, just be careful not to scrub too hard!
Keep in mind that the more pressure you use the more likely parts of the image will come off.
I consider this what helps make the image look rustic or worn like an old photograph.
This is also the part I meant by “not meant to be perfect”.
So for you perfectionists out there… it’s time to just relax!
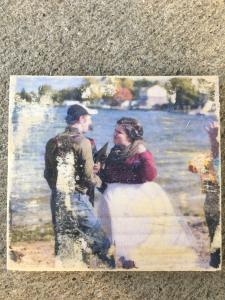
Step 6
Your image will look a little bit “hairy” from the paper fibers.
Just continue to work the image with small amounts of water until you’re satisfied.
Mine always tend to seem like I can never get all of the paper off but Hey! Oh well!
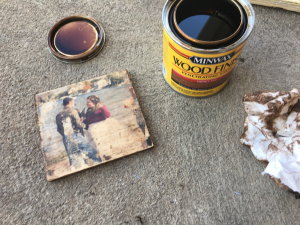
Step 7
This step is not required, your image will look great after step 6
but this is just an extra step towards that rustic feel that I really like.
Use a paper towel or old rag to add a light wood stain.
My favorite is Miniwax Wood Finish in the Honey color.
Go over the entire image and around the sides.
I tend to add more around the edge of the image.

Finish with a clear coat if you feel like it and TADA! you have a handmade rustic looking picture.
So whether you’re looking for an awesome gift to give someone…
Or just thinking about sprucing up the house with some homemade decor…
You can use any picture, design, or inspirational quote you want (just remember to reverse your quote).
Need help with printing your picture or figuring out how to reverse your letters?
Thinking about a really cool design and aren’t sure how to make it happen?
Let us know and we’d be glad to help!
I hope you enjoy this DIY project – it’s BY FAR my favorite!